blog

Here Are 5 Steps You Need To Know To Write Killer Blog Posts

Here Are 5 Steps You Need To Know To Write Killer Blog Posts | Writing Between Pauses

Back when I started blogging, I really didn't pay attention to, well, anything when it came to my content. I wrote what I wanted. I used photos that didn't really go and weren't consistent sizes. When I was really into fashion blogging, the popular thing was to use song lyrics or quotes as the titles of your blog posts. It was so much fun trying to decide what to title my posts! 

These days, with the blogging world being what it is, it takes a bit more effort than that. Even if you're just blogging for a hobby, you want to do the best you can with what you have--ultimately, if you're blogging, you want readers! And the best way to attract readers is to write great content and then ensure that you hit every point to ensure that readers can find that content.

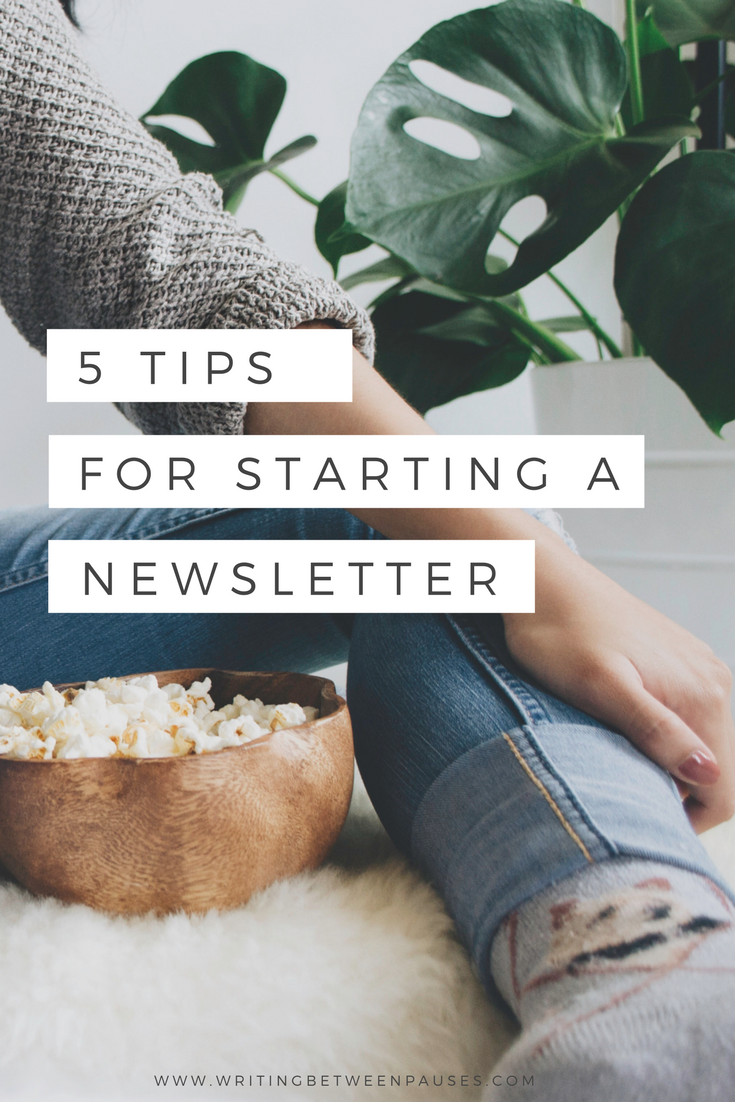
But how can you do that? If you're like me, you work a full-time job, or you're a mom; you don't have time to learn every SEO tactic or spend hours writing posts. Well, I have 5 steps for you to follow to ensure that you can write killer blog posts with the time you have. No messing around, no fussing, no spending hours deciding what to write. 

1. Take or find the perfect photo. 

Humans are naturally visual people. We like art. We like photos. So your blog post should start with not just a topic, but taking or finding a perfect photo. If I don't feel like taking photos, I use Unsplash to find a stock photo that fits my topic. Then, I use Canva to create blog graphics that are uniform and use the same fonts every time. (This is the simplest part of branding: ensuring that all your images and blog graphics have the same basic look that people can recognize and associate with you. It also makes your blog look cleaner!) 

2. Craft the perfect headline. 

Writing headlines (or titles) for my blog posts is one of my least favorite tasks. Most people struggle with it. In my career in content/digital marketing, almost everyone I know struggles to write headlines. It's a universal issue! There are so many rules about what headlines work and what headlines don't, especially for blog posts. Thankfully, I have some resources. 

Firstly, CoSchedule's Headline Analyzer is a free tool that anyone can use (they do ask you to sign up for their newsletter, but their newsletter is very informative!) It scores your headlines using a simple algorithm for successful headlines. Here are a few I wrote for this post. 

CoSchedule Example 1

I usually like my headlines to score between 65 and 75. However, sometimes, if I am particularly tied to a title, I just ignore the score! However, using this analyzer is a great way to learn how to write headlines--so you can just go for it sometimes instead of hemming and hawing! 

CoSchedule Example 2

Here's what the breakdown looks like. CoSchedule has a great breakdown on blog post types and examples of common, uncommon, emotional, and power words here

I usually write about 15-30 headlines for each blog post until I decide on the one. 

3. Outline your thoughts. 

Diving right into writing can seem like a good idea, but writing down an outline, even if it is just a rough sketch, will ensure that you stay on topic and don't get stuck halfway through writing. Even if you're not writing a blog post that features a list or steps, you can jot down all the points you want to cover. For this blog post, I wrote down the 5 steps I wanted to include, then started backwards from there to pick points for my introduction.  

4. Clean up your copy. 

I am a verbose person, so this is hard one for me: once you're done writing, go through your blog post and clean it up. Remove repetitive phrases. Shorten sentences. Move separate thoughts into separate paragraphs. This improves the readability of your post. (Most blog posts are skimmed anyway, so the faster you can convey your information, the better!) 

5. Check for places to link other blog posts. 

If you can link to other blog posts of yours (or your friends!), do it! It's worth taking a few extra minutes to add links and include a brief sentence as to why they should click over to that blog post. 

BONUS: 6. Share to Pinterest, Twitter, and Facebook. 

Alright, this isn't a step about writing, but it is about getting those all important readers. None of us like talking to thin air, that's for sure! I share my blog posts automatically via Squarespace with my chosen hashtags. I then make sure to pin daily to Pinterest, as well as to my group boards on Pinterest. If you use Facebook, share your post there too; Facebook is the number one website for referral traffic. 

The Basics of Giving Credit

can i use photo from pinterest

A few weeks ago, I was scrolling through Instagram when I noticed something, well, weird. 

One of my favorite bookstagrams had posted a photo of a bath tub. I knew for a fact it wasn't a photo they took. Why? I'd spotted it earlier while scrolling through Tumblr. I went back to Tumblr and found the photo; I remembered it because I'd liked it, to save it to reblog later. I followed the source and ended up at the Instagram of an interior decorator. 

I was torn. What do you do when you find a photo someone has reposted without credit? I went back to the bookstagram and saw that she had put a photo credit for "Pinterest" on the photo. 

Pinterest. Good ol' Pinterest. 

Pinterest, in so many ways, has changed both the blogging world and the Internet as a whole. It changed the way we talk, the way we run and market blogs and businesses. And most importantly, it has muddied the waters of crediting photos. 

It feels so easy for photos to get lost now. To get pulled from Instagram onto Pinterest, to lose the original source, to get added to WeHeartIt, and Tumblr, and then loop back again. Posting and reposting, the source gets lost. When you reverse search the image on Google, it can take a lot of effort to find the original post--and the original credit. 

I always inwardly cringe when I see a photo credited to "Pinterest." Pinterest is where you find a cool photo, or something you want to share. But you need to share the original source--unless you do extensive searching and simply can't. You have to do the work though: you have to try and find that original source. That's on you, as a blogger, an influencer, whatever. You have to do that work. 

Here's the thing: I can think of a lot of times in the past where I've credited photos to "Pinterest." And I hate myself a little bit for it. But I grew up, I learned, I changed. It's pure laziness, that's all it is, as well as ignorance. Maybe people just don't realize they need to source the original photo. Maybe they think saying they got it from "Pinterest" is enough. 

In general, if you find a photo on Pinterest, it has a source. Follow the link. If it doesn't lead anywhere (I have definitely clicked links before and been taking to just the image URL, not a blog post or anything), try reverse searching on Google. You may also be able to find the original Pin on Pinterest by searching for it's exact title and description. (If you notice a pin that doesn't lead to a source, do your part and make sure to report it to Pinterest as well!) 

And here's the kicker: if you cannot find the source, do not use the photo. Being unable to credit it is not an excuse. Don't use it. 

You might wonder about stock photos. Depending on the permissions of stock photos, you do not always need to share the source. Although, if you repost stock photos on Instagram, I think it is most honest to mention the source in your caption. But that's just me. 

So, what happened with that bookstagram? I decided to send the interior decorator the photo had originally come from a private message, where I told her the name of the bookstagram and that she used her photo. In the end, they worked it out privately and, good on the bookstagrammer, she updated the caption. 


Did you enjoy this post!? Support Writing Between Pauses (and your lovely writer & webmistress, Michelle) by signing up for the WBP newsletter here

5 Tips for Starting a Newsletter

I launched my newsletter in mid-December, so when it comes to newsletters, I am by no means an expert! However, if you're looking for someone who is working through the process in real time, I'm the blogger for you. If you're wanting to launch your own newsletter, here are a few tips, from one newbie to another. 

1. Pick a platform you know. 

I was very lucky that I knew how to use an email platform previously. Mailchimp was what I had experience in and even though I know there are actually better platforms out there, I went with Mailchimp simply because I knew it was easy to use. If you don't have experience with email platforms, I highly recommend doing a little research beforehand, watching a few videos, and knowing what you're getting into! 

2. Stick with a schedule. 

Pick a schedule to start with--nothing too strict. Once a month, or every other week. Put those dates on your calendar and start a document with topics so you're never scrambling at the last minute. I've signed up for a few new newsletters and ended up getting inundated with emails in the first two weeks--bloggers get excited about their newsletter and end up sending out a ton of them early on. Not only is that really annoying for subscribers, but you'll end up getting exhausted at the amount of work you're putting in! 

3. Don't expect instant success. 

Here's the thing: it will take a while to get into a groove with writing newsletters. It's important to remember that it will not only take time to build your subscription list, but it will also take time to write newsletters that people really want to read. Focus on writing great content and figuring out what your readers want first--not necessarily on being instantly successful! 

4. Promote (of course). 

Funny thing, but you've got to promote your newsletter! I have sign ups on my blog, but I also tweet a link to sign up at least every few days. Encourage your friends to sign up and to share it on social media as well. Promotion is the only way you'll get anywhere, so don't just set it and forget it! 

5. Have fun

Listen, it's not the end of the world if you launch a newsletter and it ends up falling flat! Most importantly, just have fun. Send the newsletter that you would be excited to see in your inbox; write the things you want to see. When you are passionate and having fun, it will resonate with people! 

And of course, don't forget to sign up for my newsletter, sent out every other Wednesday, here!

30 Ideas for your Blog

"Consistent content" is a rule that gets thrown around a lot for successful blogging. And it sounds great in theory. But everyone gets to a point where they just run out of ideas--either through stress or anxiety or writer's block, every blogger has a moment where they think, "I just don't know what to write anymore." 

I've had a lot of times like this myself. In August, I started an editorial calendar, where I write a topic idea for every single day. I don't always have to use that idea, but it helps me having a running list. I have blogs planned through November with this method. Whenever I have a random idea for a blog, I add it to a list on my phone and then to my calendar. 

I thought I'd share a list of topic ideas for other bloggers to use when they're stuck, need to work on their editorial calendars, or just plain need a little inspiration. 

topicideas2.png
  1. 5 products you love
  2. 5 overrated products
  3. Your blog story
  4. Your blog goals
  5. A day in your life
  6. Your favorite podcasts/songs/movies/etc
  7. Seasonal decorating
  8. Your beauty routine
  9. A letter to your past self
  10. Things you've learned since graduating/getting a job/becoming a blogger/etc
  11. The best/worst advise you've ever received
  12. Your personal goals
  13. Your bucket list
  14. Your favorite apps
  15. A longterm goal you want to reach (publishing a book, starting a business, etc.) 
  16. Seasonal beauty projects
  17. Monthly goals
  18. A perfect playlist
  19. Prepping for the holidays
  20. How to take better photos/how you're improving your photos
  21. A challenge you've overcome and how
  22. 5 recipes you want to try
  23. 5 things you're thankful for
  24. How you organize your blogging materials
  25. Why you decided to start blogging
  26. Your favorite jeans/skirt/top/etc
  27. 5 things you wish blogging did (want to make money? want to start a newsletter?) 
  28. The hardest part of being (a blogger/a student/etc) 
  29. 3 favorite Twitter chats
  30. 5 products you cannot live without